X/Twitter Ads Destination
Step 1: Authorise the InfoSum platform to send data to X
Step 2: Configure the X Ads Destination in the Platform
X/Twitter pre-requisites:
Before setting up your X Ads destination, ensure you have the following:
- X Ads Account: You need access to a X Ads account. You can create one at X Business
- Permission level required: The TikTok user who authorises the account needs to have either the "Ad Manager" or "Account Admin" permission level. See X user permissions
- The minimum number of matched users for an audience to populate on X is over 500. Please ensure that your activation segment contains a larger number of users as they’ll need to match with over 500 X users for the audience to show.
Activation Keys
The connector supports the following Keys, please consult this X support article to understand the format that your data is expected to have. Please also ensure that you set one of the below identifiers as your activation key when setting up your activation query:
- email: Email addresses (raw or hashed SHA-256)
- phone_number: Phone numbers (raw or hashed SHA-256)
- device_id: Mobile Advertising IDs (IDFA/AdID/Android ID) (raw or hashed SHA-256)
- twitter_id: Twitter user IDs (raw - must remove @)
- partner_user_id: Partner's system user ID (raw)
Step 1: Authorise the InfoSum platform to send data to X
You need to authorise the connection between the platforms only once per X account you wish to connect before creating a X destination in the InfoSum platform for the first time.
- Go to Activate>Destinations>click Authorizations
- Give your Authorisation a name and select X from the list of Providers given. Click Authorise
- A pop up box will appear as the App Authorisation. Click Confirm
-
You will be returned to the Authorisations page and the status against X will now show as Authenticated
Step 2: Configure the X Ads Destination in the Platform
You can now create the X destination and configure the setup.
- Go to Activate>Activations
- On the Activations page, select X & the specific X authorisation account and scroll down to Export Configurations. Click Create New Destination
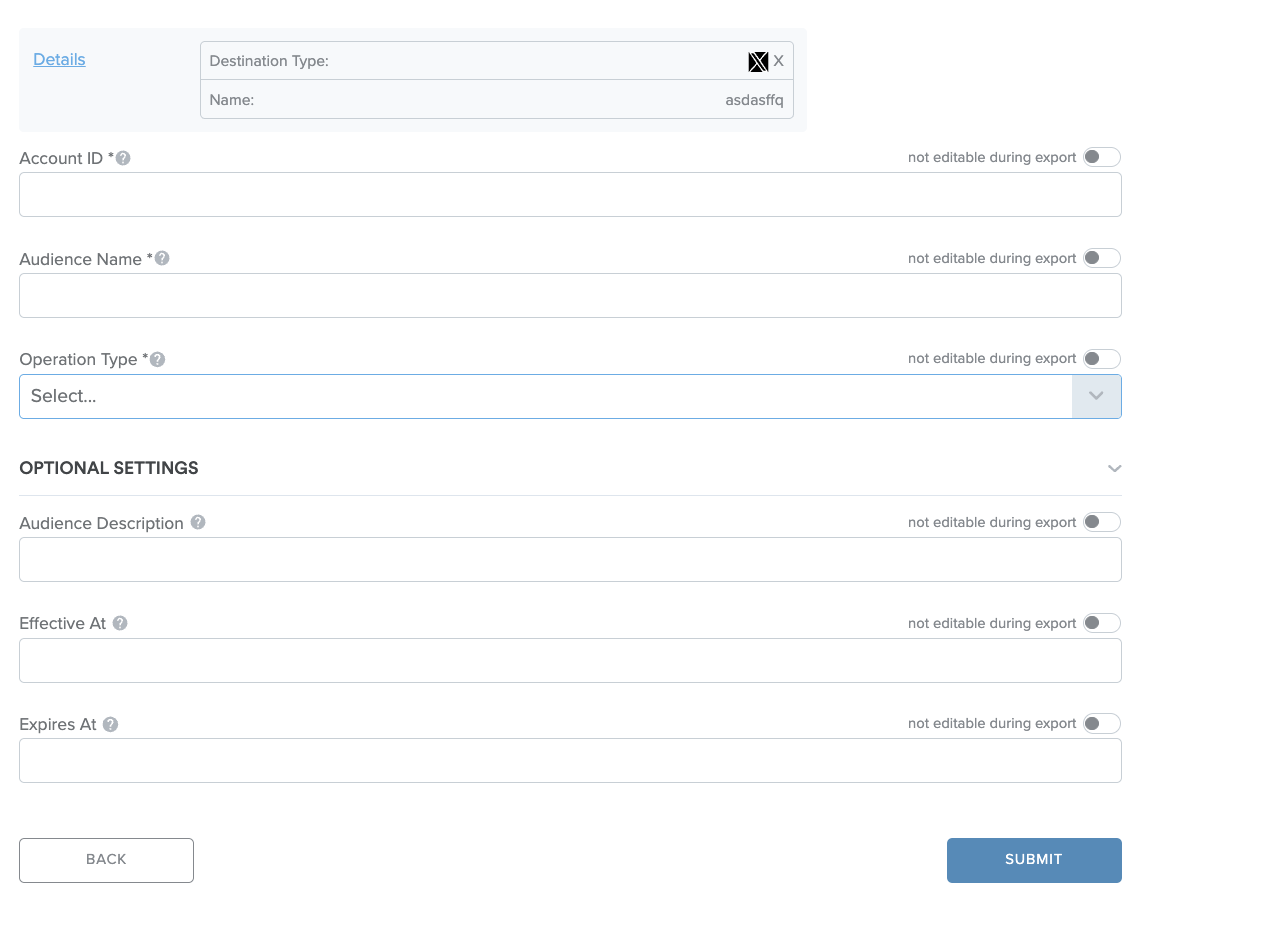
The form contains the following fields:
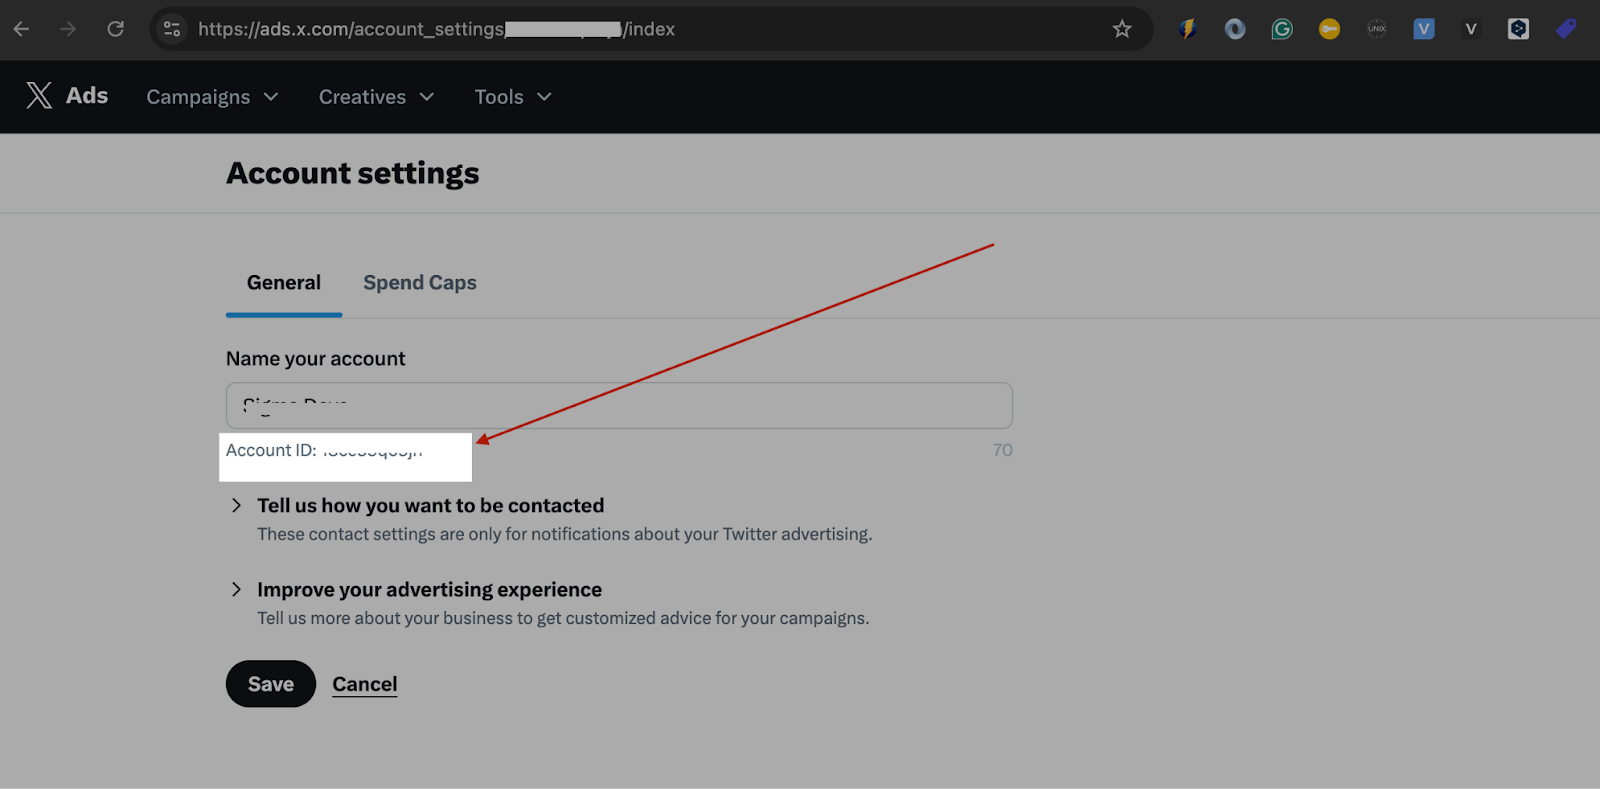
- Account ID: The ID of the X Ads account that you have authorized. You can find it under the account settings in the X Ads dashboard and in the URL of your ad Account
- Audience Name: Provide a name for the audience you wish to export to X Ads.
-
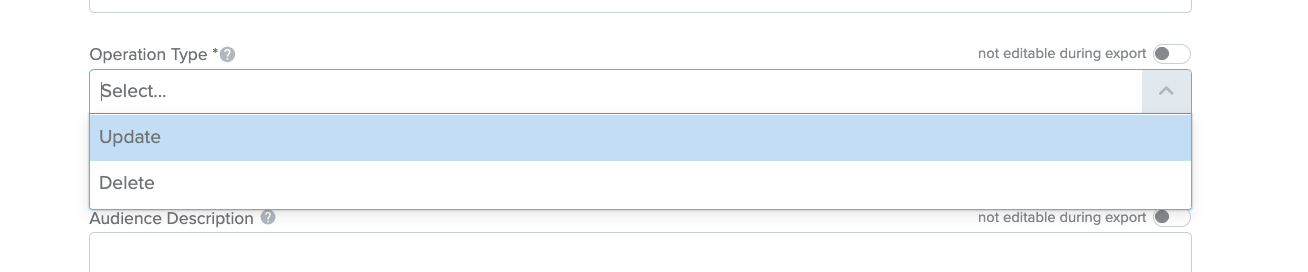
Operation Type: Choose the operation (UPDATE, DELETE) to determine whether to update an existing audience/create a new audience if no audience with that name exists, or delete users.
- Audience Description (optional): A brief description of the audience, if required.
-
Effective At/Expires At(optional): Define the time range for when the audience data is valid on Twitter.
- Effective At: If not provided, the audience association will take effect immediately, meaning that Twitter will apply the audience data as soon as it is processed.
- Expires At: If not specified, the default expiration time is typically set to 13 months from the request timestamp.
Complete all the mandatory fields and click submit. As the destination is reusable all fields can be specified as editable/non editable at point of export to allow you to customize all specific exports.
Please note that any fields that you make editable at push time will be editable by companies that you share the destination with.
Once completed, this destination can be used in the export configuration.
Activating data to X/Twitter
You can activate results to a Destination using either Segment Builder or the Query Tool.
- Navigate to Activation Segments & start an export
Once you’ve created the activation segment, go to the Activation Segments tab under Activate, where you can find all of the historic segments that have been created by your team for that collaboration. Please ensure you are in the correct Collaboration view at the top for the Activation you're looking for.
A ‘ready’ status shows that the query has been successful and is ready to be sent to a Destination. Activation segments are only ‘Ready’ for 36 hours, this is to ensure that you are always exporting the freshest data. You can easily refresh a segment by clicking ‘refresh’ in the details panel of each segment.
When you select an Activation segment, an information panel appears on the side of the page allowing you to view the segment and export it to a Destination with the correct permissions for that Collaboration.
You can click ‘Export’ to start a new export, or click ‘View’ / double-click on the activation segment name to view all exports associated with this segment.
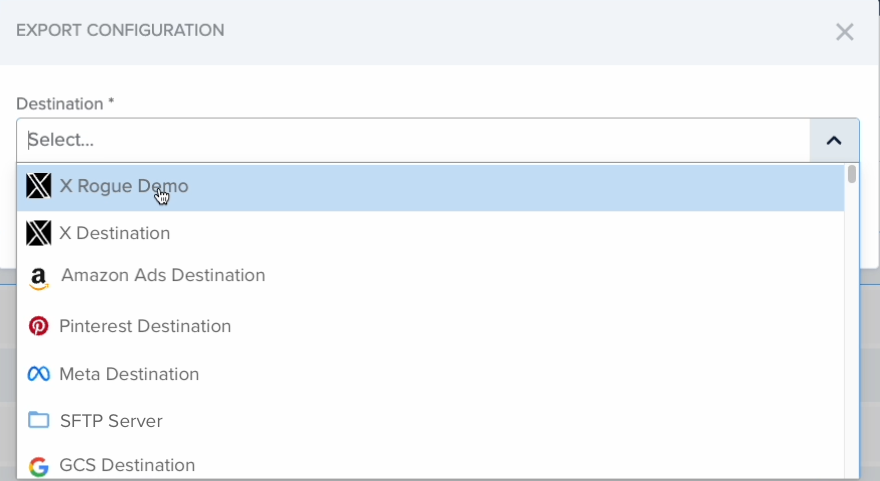
2. Select your destination
After you click Export, a new pane will appear with a list of the destinations available for this segment. You will be able to see all the Destinations that your company owns or has permission to use for that Collaboration. Select your destination, and configure any custom fields.
- Configure the export
When you select the correct Destination, the pop up will show additional options, including column mapping if required and optional fields.
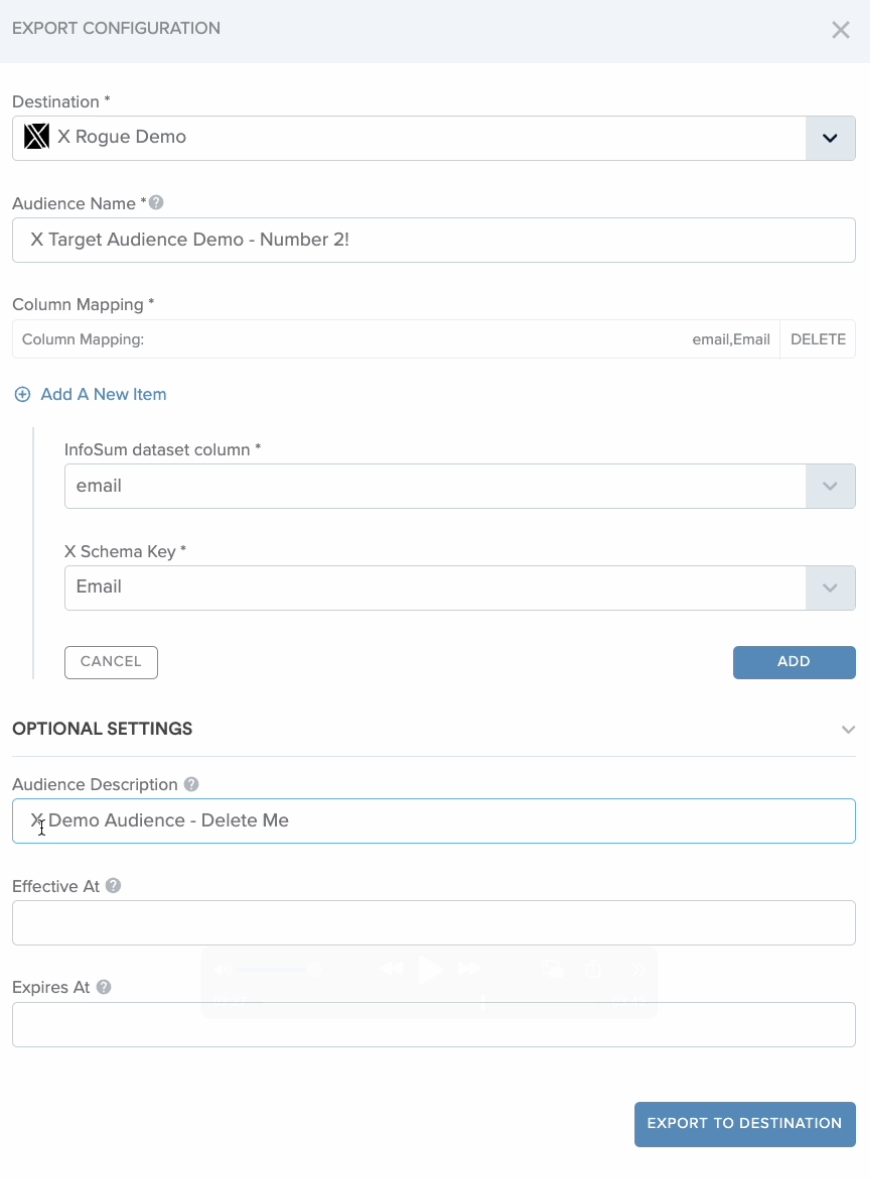
- Click Export to Destination to initiate the activation.
Processing time: it typically takes 24-48 hours for X to fully process and activate a custom audience